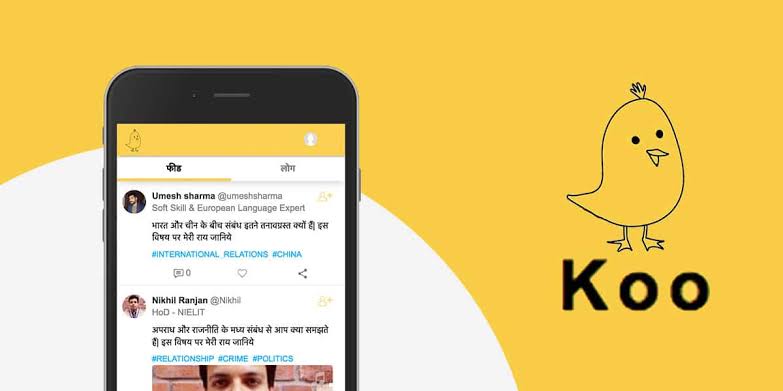
Koo, the Indian alternative to Twitter has been the talk of the town since Twitter started receiving notices from the government. The Koo App literally imitated what Twitter does, but in an Indian fashion. So how to use Koo? Let’s have a look.
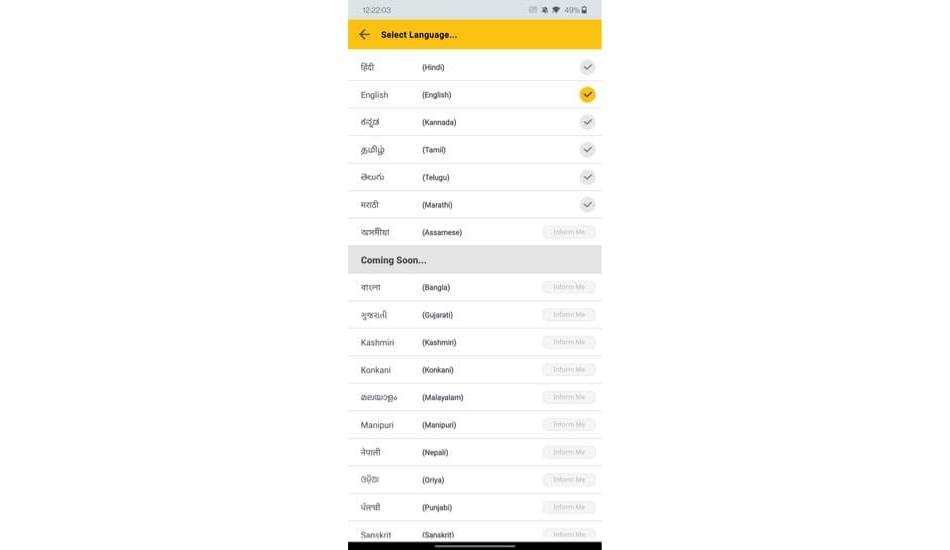
First off, you obviously need to download the app from the Google Play Store or the Apple App Store depending on what phone you have. Next, after you open the app, it will give you the option to select the language in which you want to use it. Currently the app has support for 6 languages while more Indian languages are incoming through future updates (Indian fashion, as we said).
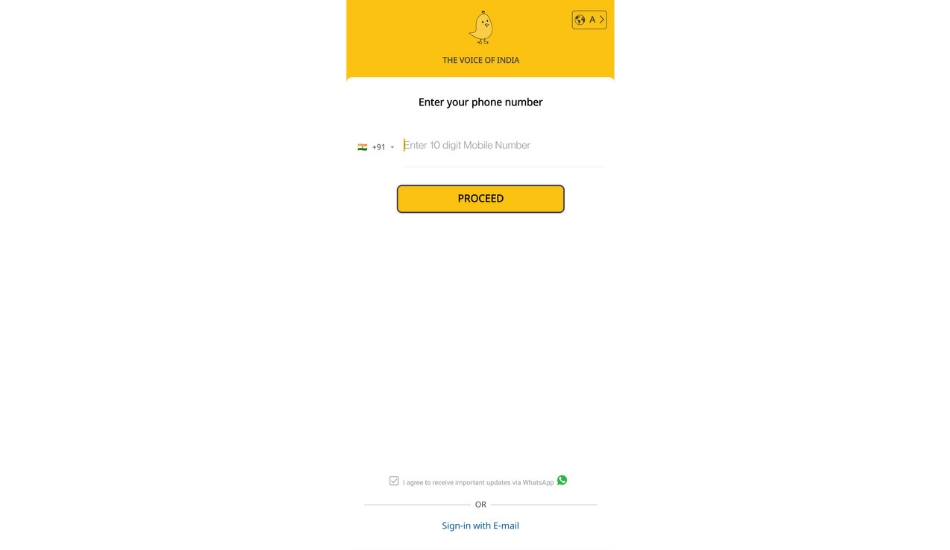
Next, the app will ask you to sign in through either your phone number or your e-mail. You will get an OTP to sign in regardless of which method you choose for logging in. After you enter the OTP, the app wants you to upload your profile picture which you can also skip.
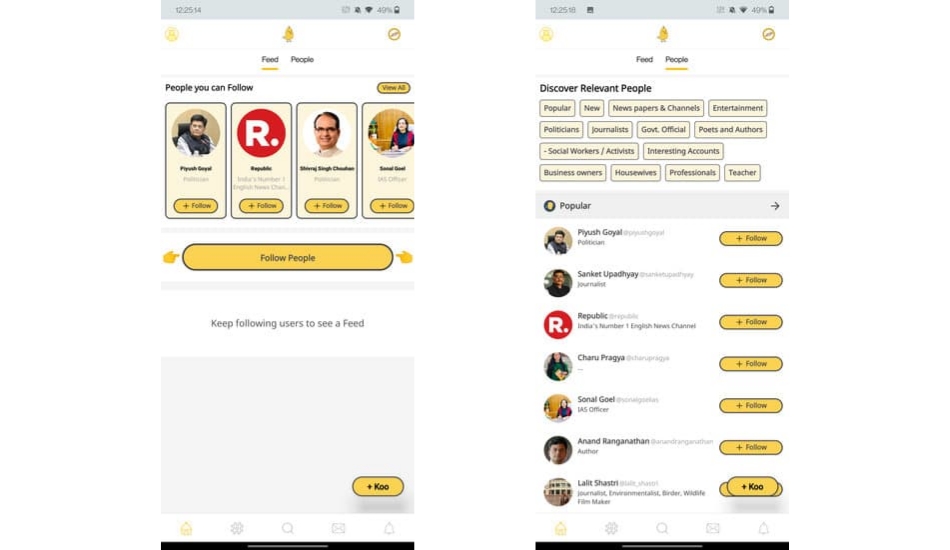
Now you see the main screen of the app where all the action will happen. If you are familiar with Twitter, then you won’t have a hard time navigating through the app as most of the features are identical, but if you are new to all this, we are here to help. The feed is where all the Koos (Tweets in Twitter’s terms) will appear from the people you follow.
On the main feed, Koo has 4 tabs at the bottom including your news feed, a page showing all the trending hashtags, a search button, a direct messages tab, and a notification tab where you will see all the notifications.
Koo will also suggest you some account handles to follow through the ‘People you can follow’ tab. The tab to the right of the feed is called ‘People’ where the app suggests you accounts segregated on the basis of different categories. For example, you will see popular accounts here, accounts based on Entertainment category, newspaper and channels, journalists, etc. It makes it easier to follow whatever account you want to by just clicking the ‘Follow’ button on the right of each account’s name.

Coming back to your feed, you see a ‘+ Koo’ button on the bottom left from where you can create and post a new Koo (Tweet for Twitter). After you click on it, there’s the input box where you can type up to 400 characters. You can use ‘@’ button to mention an account and thr ‘#’ button to insert a trending hashtag or a hashtag of your own. You can post a typed Koo, a voice recording of your own or even a video based Koo by clicking on various input options just below the Koo input box.
On the very bottom, you have various options for inserting emojis, links, photos/videos from gallery, polls and gif into the Koo. Then the last option stands for Setting the privacy options for your Koo regarding who can comment on your Koo where you can select if anyone can comment, only the people you follow can comment, or make it a read-only Koo meaning no one can comment. After you are done, you can click on the top right ‘Post’ button to basically post the Koo.
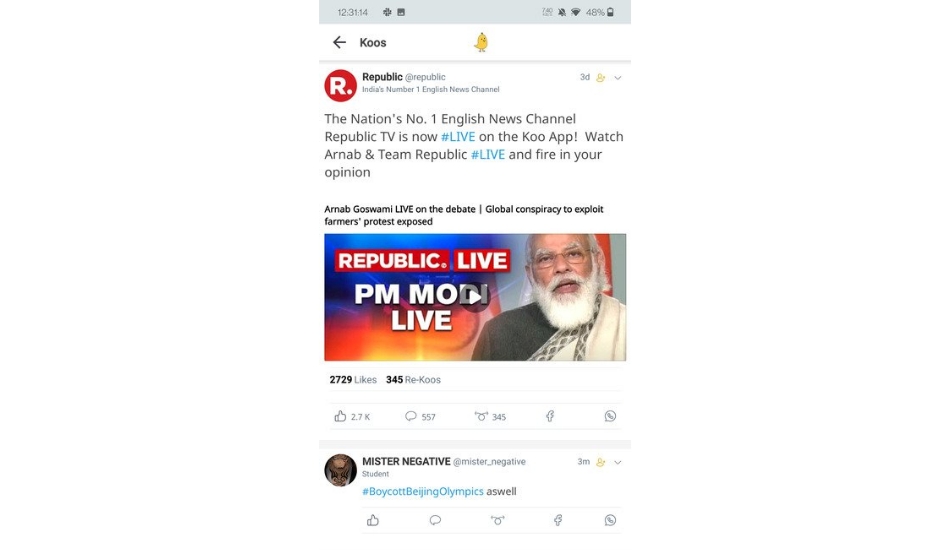
Now, after you open a Koo, you have a down arrow on the top right from where you can block or report the Koo and the user along with a share button with which you can copy the link to the specific Koo. The app has a Re-Koo option which is Twitter’s retweet option but just renamed. Then while you have a Koo opened, you have a like option same as Twitter but it is a thumbs-up in Koo’s case and not a heart. Apart from that, you have the comments option and two additional buttons to share the Koo directly on Facebook or WhatsApp.
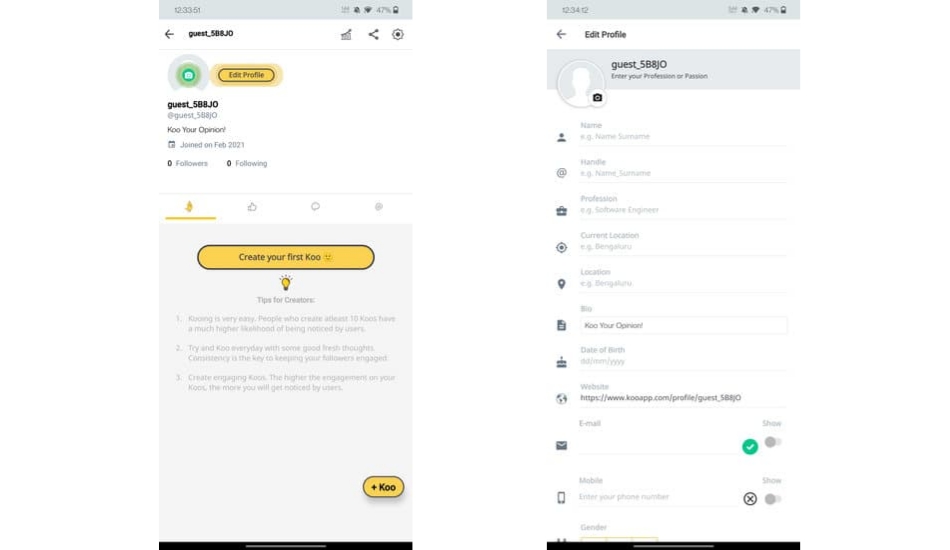
Now that you know how to post a Koo and interact with other Koos, you can head over to the profile settings by clicking on your profile pic on the top left in the feed to customize how you appear to others. Here you again have 4 tabs where on the first one, you see your Koos. On the second one you see the Trending Koos while on the third and fourth tab you can see the comments made on your koos and ones in which you got mentioned (respectively).
To edit your profile, you can click on the button next to your profile picture. Here, you can enter your name, your handle, profession and other personal information. You can even link your other social media profiles of Facebook, Twitter, YouTube and LinkedIn. If you want to share your profile, you should head back to your profile page and on the top right you will see 3 buttons out of which you can tap on the second one to share your profile.
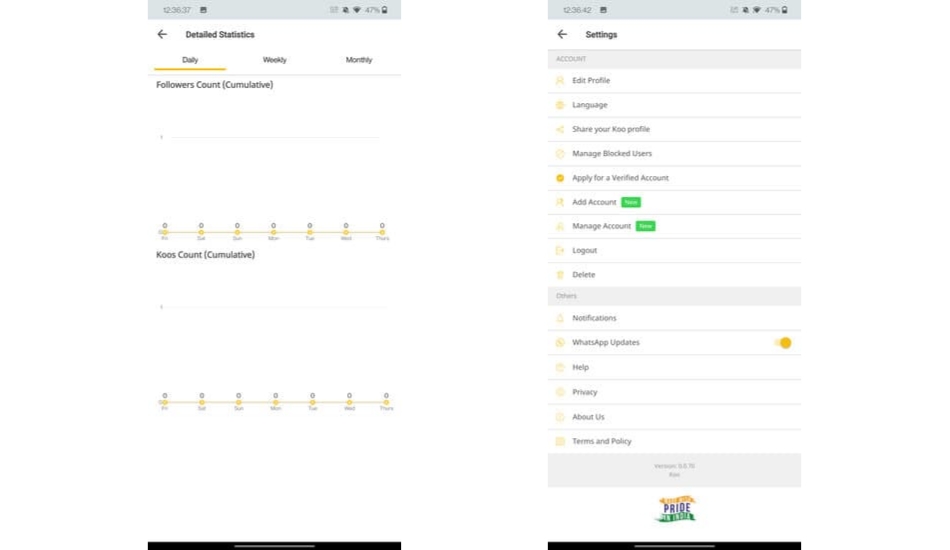
The first button out of those 3 show your daily, weekly and monthly stats regarding your follower and Koo count. The last button out of these 3 take you to the app settings where you can apply for a verified account, manage blocked users, change language, turn on WhatsApp updates and more.
So this was the ultimate guide to get you started on Koo if you are thinking to make a switch from Twitter, or just casually post on both apps.


