
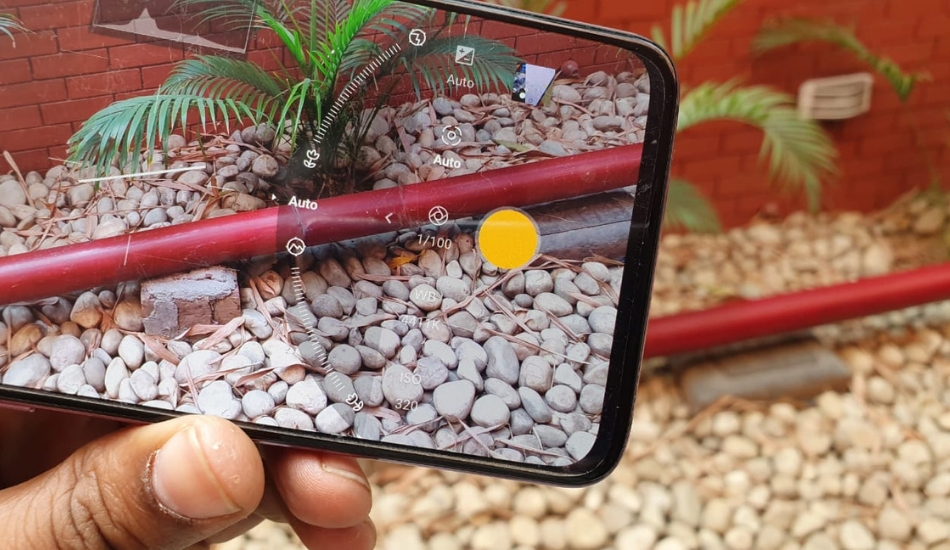
1White Balance
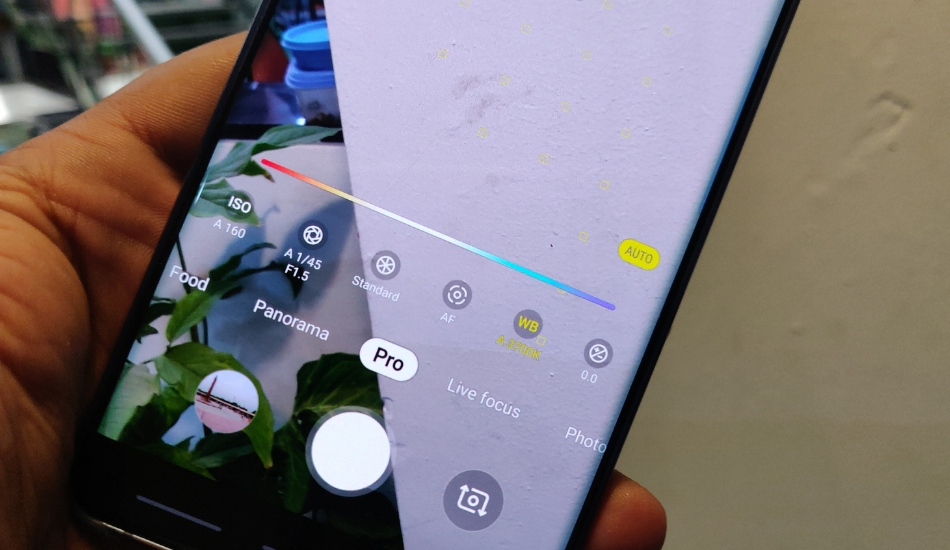
White Balance is probably one of the most common settings found in a smartphone’s camera application. The setting basically adjusts the colour of the image by creating a warmer or cooler colour temperature. In the Pro Mode, the white balance can be generally denoted as cloudy, outdoor, incandescent, fluorescent and more. However, in some phones, it can be denoted with Kelvin (K). For your reference, if you keep the Kelvin at 2000K, you will see a red colour temperature, will keeping it at 9000K will provide you blue colour tone. That’s why should ideally keep between 5000K and 6000K to get the best results and accurate colour tone of the image.
2ISO
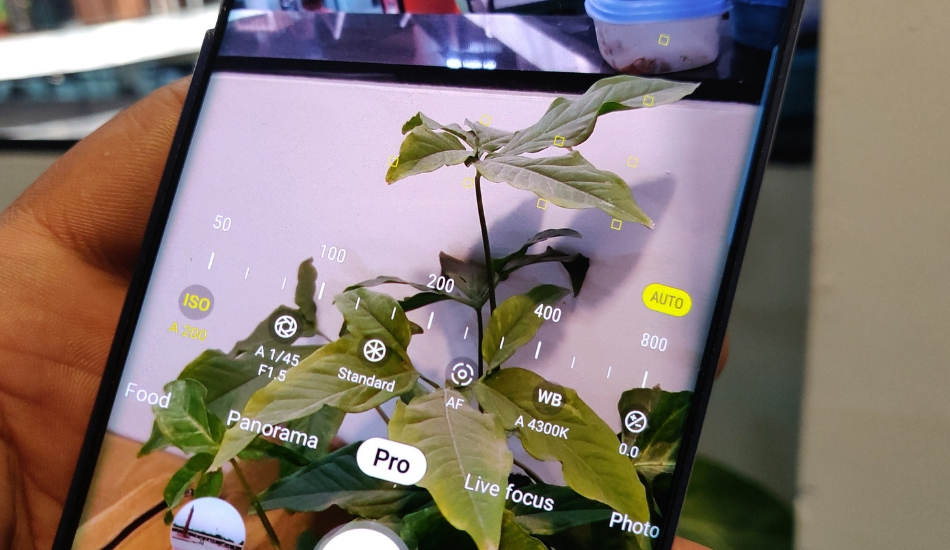
ISO is a way through which one can adjust the sensitivity of the sensor. The lower the number of ISO, the less sensitive it will towards the light. So, if you are clicking a photo in broad daylight then you should ideally keep the ISO count low to capture detailed shots. Likewise, the higher number of ISO is used when the lights are not that great. The high ISO increase the sensor’s sensitivity to light and it helps to take brighter pictures under low light conditions.
3Metering
Metering basically helps the camera to measure the quantity of light and the sensor then according adjust the shutter speeds and ISO to capture the image with great details. There are different types of metering including Matrix, Center and Spot. In Matrix metering, the camera collects all the data with the desired highlights and shadow present in them. In centre metering, the camera collects the data from the subject, which is placed at the centre of the frame. Lastly, in spot metering, you get an option to choose the subject inside the frame and the sensor adjusts other variables accordingly.
4Aperture and Exposure
Aperture can be understood as the size of the lens opening through which light passes. The Aperture is denoted with f-stops. As a rule, the smaller number denotes larger aperture and vice versa. Aperture also plays an important roll in capturing the depth of the subject.
If you keep the aperture at the lowest setting and adjust the shutter speeds, ISO and more accordingly, you can actually take a natural bokeh effect, which might look better than then taken with a normal portrait mode. Coming to exposure, it is one of the most commonly used functions in a smartphone. The exposure generally tweaks the ISO and /or shutter speed to brighten up or darken an image.
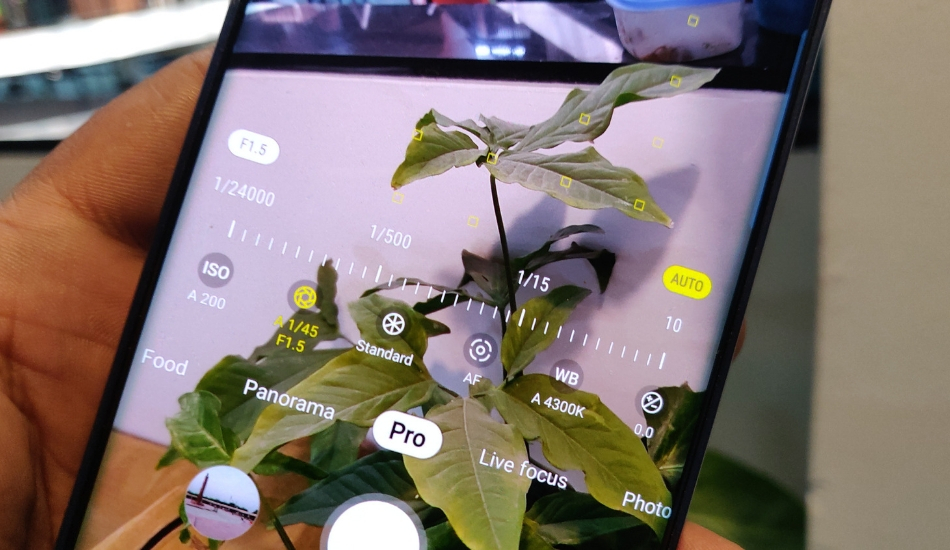
5Understand your smartphone’s camera interface
This is one of the basic yet most overlooked steps. Always understand your mobile camera interface. This will allow you to know which setting or mode is available on which section. This at the end of the day will help you to capture images optimised using the desired mode. Most of the smartphones have some common modes like Photo, Video, and Pro Mode. The latter is very crucial if you are planning to do some serious photography from your smartphone. A Pro Mode generally consists of basic elements like metering, ISO, Shutter Speed, aperture, exposure and white balance and focus.
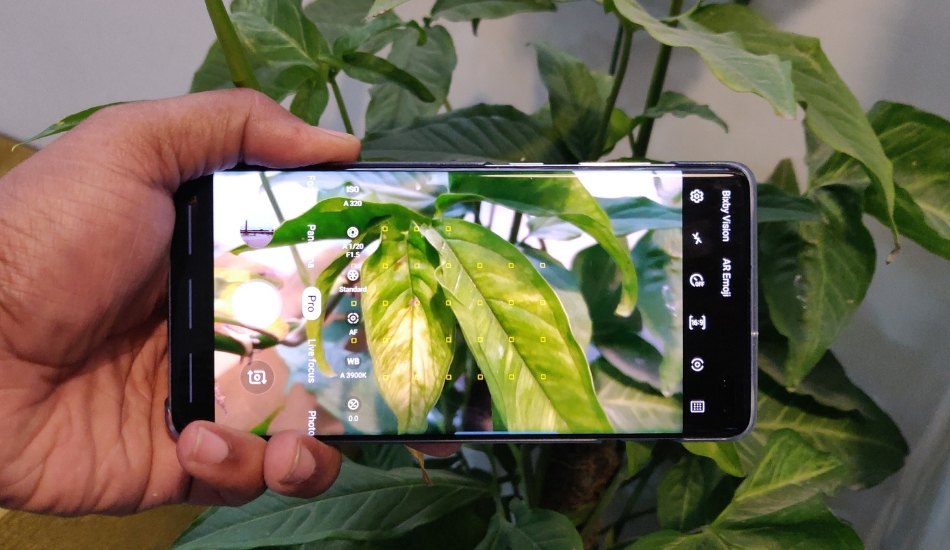
6Focus
One of the most important thing you will find in the Pro Mode is the focus. This setting allows making your image look crisp and well-detailed. If an image is blurred than it is simply mean that the phone was not able to focus on the subject. The Pro Mode generally has a setting through which you can focus on macro as well as the subject which is at a distance.
7Shutter Speed
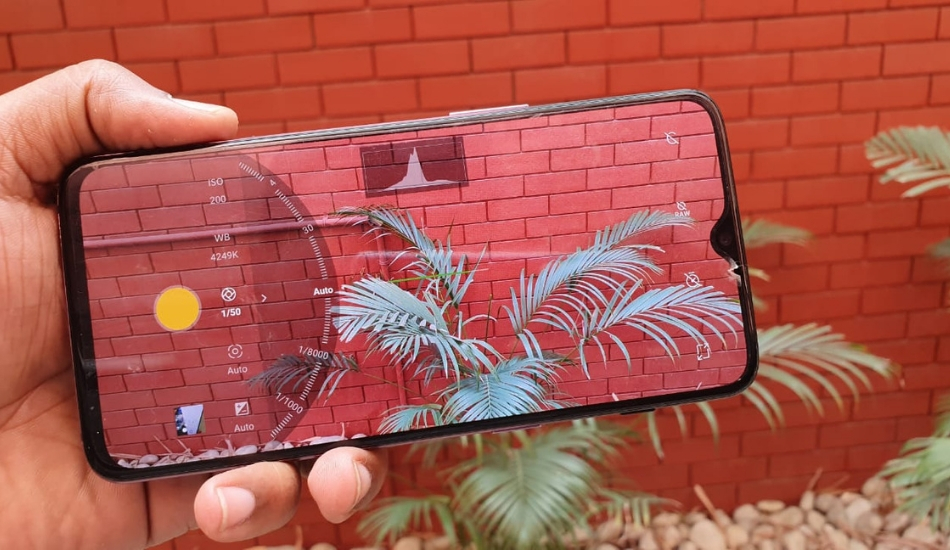
While the ISO controls the sensitivity of light, the Shutter Speed is used to capture an image. This basically defines the length of time the sensor is exposed to light. The higher the time of shutter speed, it will take more light, which results in brighter but sometimes overexposed images. If you are looking to capture good shots in low light conditions then you need to set the shutter speed for a longer time. Bonus, the long shutter speeds shots can also create some really amazing illusion of moving water or stars and more. Though you need to place the phone at a sturdy place and make sure it remains still.