Resistive touchscreens are an inferior touch based input system for mobile phones but it is still preferred in various countries and by many mobile device manufacturers for the simple fact that it helps in reducing the cost of the handset.
However, resistive touchscreens are less sensitive as compared to the capacitive ones and they also have a lower display quality. But one thing that makes it less sensitive to touch is actually a user’s fault. Resistive touchscreen can perform very well provided users calibrate the screens on a regular basis. So here is how you can go ahead calibrating your resistive touchscreen device. 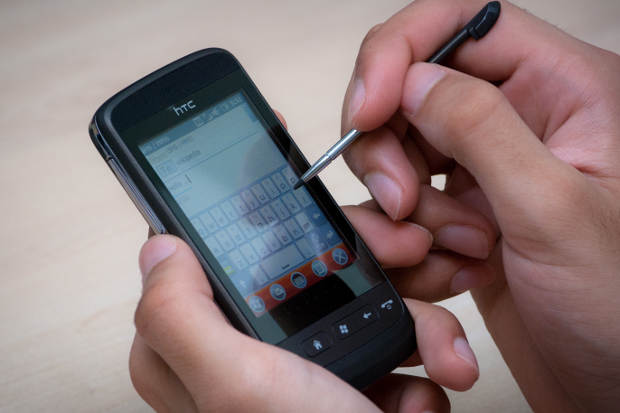
Please note that due to difference of brand the placement of the calibration menu can vary from device to device. But the basic steps remain the same.
Step 1
Turn your phone on and from the home screen access the settings menu or the applications main menu.
Step 2
From the following screen select the settings menu icon or tab and press it to enter the menu. 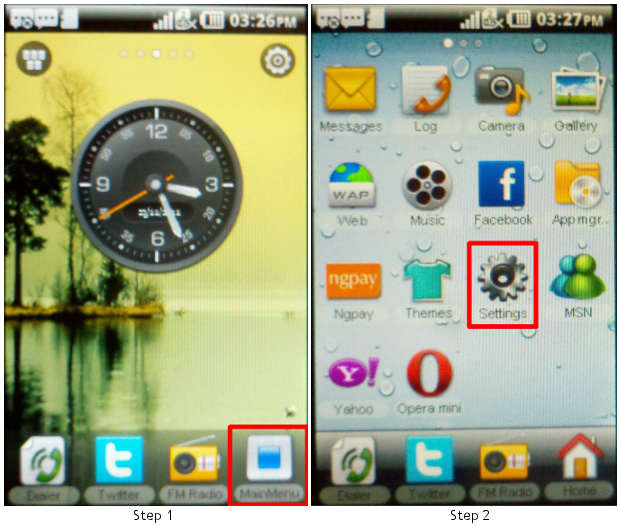
Step 3
Once inside the settings sub menu, try locating the pen calibration or touch calibrations tab from all the options given under the sub menu.
Step 4
Tap the calibration to open the calibration screen that will allow you to calibrate your touch for the best possible touch performance from your device. 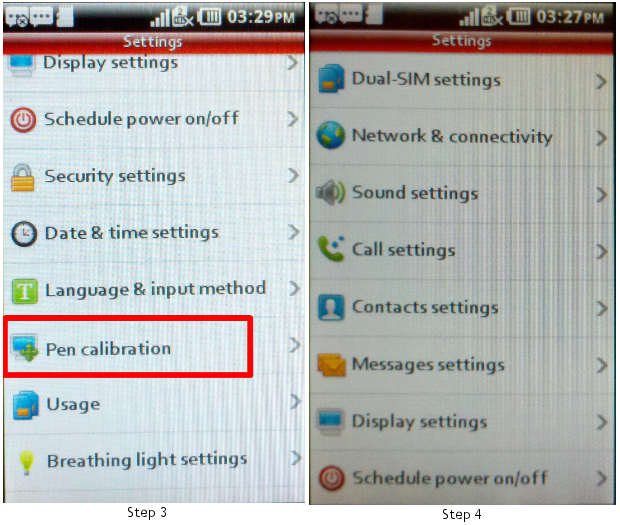
Step 5
From the following screen, follow the steps displayed on the screen. The calibration screen shows you a series of pointers which change after every step; these pointers help the touch input system to accurately locate the position of the touch input vis-à-vis the point displayed on the screen.
Although this can be done with your bare hands but it would be advisable that you use a stylus if not then use the blunt side of a toothpick to press specifically against the highlighted icons on the screen for better accuracy.
Step 6
The menu or the calibration screen might or might not ask you to repeat the steps, do as guided. 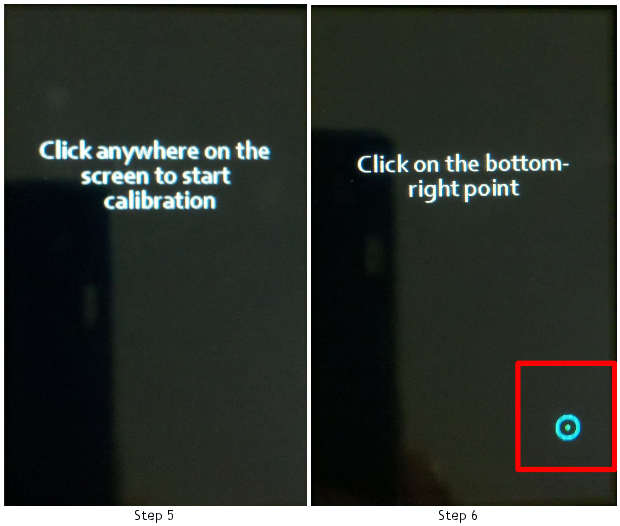
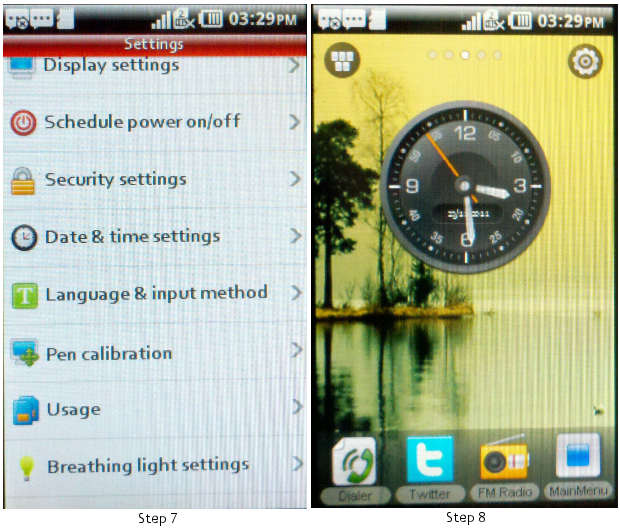
Step 7
Once the calibration is over, the device will automatically quit the calibration tool or the screen and will exit the menu.
Step 8
Some devices may also prompt you to exit manually from the menu.